How to Setup your Printer and Computer
Once a printer is setup wireless it can not only printer without a cable connection but it can also printer with other devices on the same network without being physically connected with the printer.

Method 1: Troubleshooting a Wireless Printer on Windows
- Verify Power: Check if the printer is turned on. If not, press the power button and ensure it’s plugged into a working outlet.
- Check for Errors: Look at the printer’s display or indicator lights. Resolve any error messages like paper jams, low ink, or offline status.
- Restart the Printer: Turn off the printer, unplug it for 1-2 minutes, then plug it back in and power it on.
- Check the Printer’s IP Address: Locate the IP address in the printer’s network settings. If the IP address is missing or incorrect, reconnect the printer to the network.
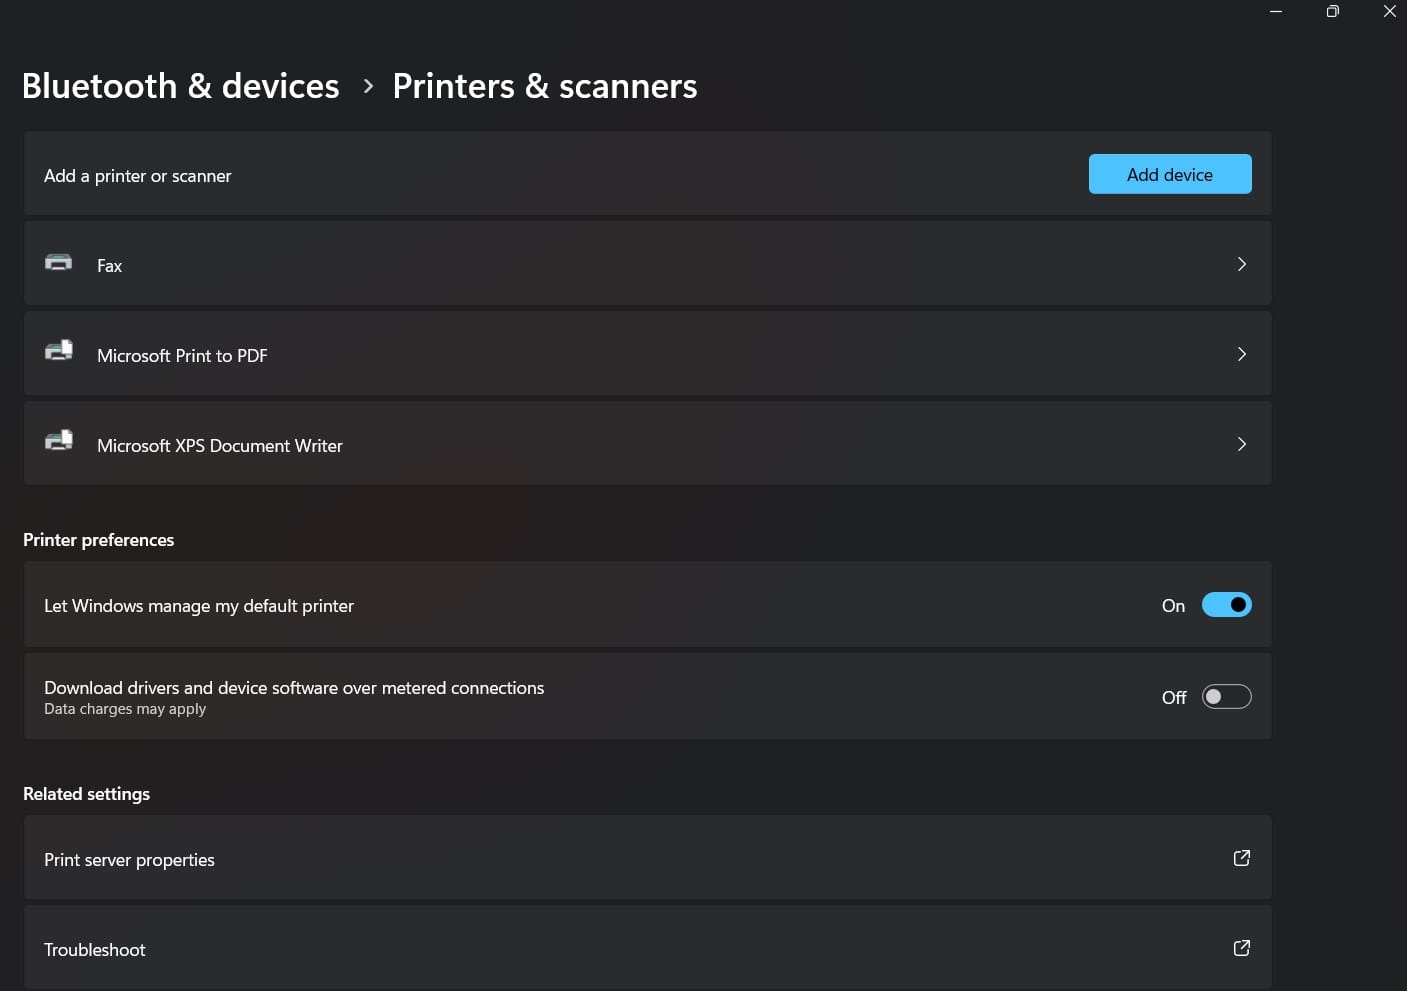
- Verify Printer Connection in Windows: Open Printer Settings: Go to Devices > Printers & Scanners.
- Check Printer Status: Ensure your printer appears in the list of connected devices. If it shows Offline, right-click and select Use Printer Online.
- Test the Network Connection: On your Windows computer, click on the Wi-Fi icon in the taskbar. Confirm it’s connected to the same network as your printer.
- Restart the Print Spooler Service: Open Services from the Start menu. Locate Print Spooler in the list, right-click, and select Restart.
- Check for Windows Updates: Click the Start button, go to Update & Security, and click Check for Updates.
- Resolve Default Printer Issues: Sometimes, Windows sends jobs to the wrong printer. Open Settings > Devices > Printers & Scanners.
- Set as Default: Ensure your wireless printer is set as the Default Printer. If not, click your printer and select Manage > Set as Default.
- Test Printing: After performing the above steps, test the printer by printing a test page.
Method 2: Troubleshooting a Wireless Printer on a Mac Computer
- Verify the Printer's Power and Status: Start by ensuring the printer is operational and ready to print.
- Check Power: Ensure the printer is plugged into a working outlet and powered on.
- Inspect the Display: Look at the printer’s display for error messages, such as paper jams, low ink, or network disconnection. Resolve these issues if present.
- Restart the Printer: Turn the printer off, unplug it for a minute, and plug it back in before turning it on again.
- Confirm the Printer’s Wi-Fi Connection: Wireless printers require a stable connection to the same network as your Mac.
- Check Wi-Fi Status: On the printer’s control panel, navigate to Wi-Fi Settings or Network Settings. Verify it is connected to your Wi-Fi network.
- Check the Network on Your Mac: Ensure your Mac is connected to the same Wi-Fi network as the printer.
- Click the Wi-Fi icon in the menu bar to see which network your Mac is connected to.
- If your Mac and printer are on different networks (e.g., a guest network vs. the main network), connect them to the same one.
- Verify Printer Status in macOS: Check if your Mac recognizes the printer.
- Open System Settings: Go to Apple Menu > System Settings > Printers & Scanners (older macOS versions may say "Printers & Fax").
- Check Printer List: Look for your printer in the list. If the printer appears but shows Offline, select it and click Resume or Reconnect.
- Update Printer Drivers or Firmware: Outdated software can cause connectivity issues.
- Check for macOS Updates: Go to Apple Menu > System Settings > General > Software Update and install any updates.
- Use a USB Connection as a Temporary Solution: If the wireless connection isn’t working, connect the printer to your Mac using a USB cable.
- Run a Test Print: Once you’ve made adjustments, test the printer.
- Go to Printers & Scanners in System Settings.
- Select your printer and click Open Print Queue > Printer > Print Test Page.

